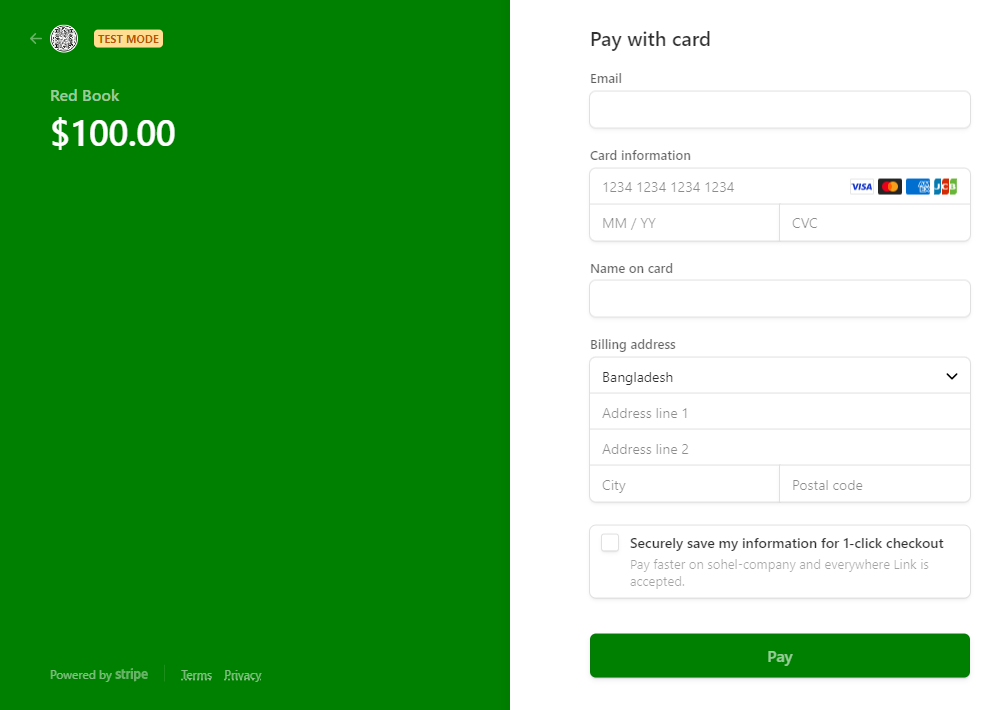
As the world becomes increasingly digitized, online transactions are becoming the norm for many businesses. Whether you’re an entrepreneur, freelancer, or small business owner, receiving payments online has become a necessity. Fortunately, there are many payment processing services available to help you receive your online payments quickly and easily. One such service is Stripe, a popular online payment platform that is trusted by millions of businesses worldwide. In this blog, We will walk you through how to receive your online money using Stripe. Before we dive into the integration step, let’s understand some concepts related to Stripe.
What is Stripe?
Stripe is an online payment processing platform that allows businesses to receive payments from customers using credit cards, debit cards, and other payment methods. It offers a range of tools and features to help businesses manage their payments, including fraud protection, subscriptions, invoicing, and more.
How does Stripe work as an online payment?
Stripe works by processing payments between a customer’s credit card and a business’s bank account. When a customer makes a payment, Stripe verifies the payment information and transfers the funds to the business’s bank account. The process typically takes a few days, depending on the bank’s processing time.
Stripe charges a fee for each transaction, which varies based on the country, currency, and payment method. The fee is deducted automatically from the payment amount, and the remaining funds are transferred to the business’s bank account.
Now let’s see how can we integrate Stripe into our website.
Step 1: Create a Stripe Account
To start receiving payments using Stripe, the first step is to create an account. Simply head to the Stripe website, click on the “Get Started” button, and follow the prompts.
Step 2: Add Payment Information
The next step is to add your payment information to your Stripe account. This includes your bank account details, which will enable you to receive payments. You can add multiple bank accounts if you have more than one business, or if you have separate accounts for different currencies.
Step 3: Integrate Stripe into Your Website
Once you have set up your Stripe account and added your payment information, the next step is to integrate Stripe into your website. Stripe provides different kinds of API that make it easy to accept payments online

You can use Stripe’s API to build your own payment forms, or you can use one of Stripe’s pre-built integrations for popular e-commerce platforms such as Shopify, WooCommerce, and Magento.
If you use Stripe’s own payment form, you can customize the form by following these guidelines. You will get full frontend and backend code samples from this git repository for details implementation in Node.js
Step 4: Start Accepting Payments
With Stripe integrated into your website, you are now ready to start accepting payments. Stripe accepts payments from all major credit and debit cards, as well as digital payment methods such as Apple Pay and Google Pay. When a customer makes a payment, the money will be transferred to your Stripe account, and you can then transfer the funds to your bank account.
Step 5: Manage Your Payments
Finally, it’s important to keep track of your payments and manage your Stripe account. Stripe provides a range of tools to help you manage your payments, including detailed reports and analytics. You can also set up recurring payments and subscriptions, as well as refunds and chargebacks.
In conclusion, receiving your online money using Stripe is a simple and straightforward process. By following these steps, you can start accepting payments online quickly and easily, and manage your payments efficiently. With Stripe’s user-friendly platform and excellent customer support, it’s no wonder that so many businesses trust Stripe for their online payment needs.
If you need any kind of help with payment gateway integration, you can reach us info@ixorasolution.com or contact us.

Add a Comment